This guide covers the whole process of raising queen bees for free. Follow it and you’ll have a strong, proven method you can repeat every season.
- Control over genetics and temperament
- A proven method used across our apiaries
- Step-by-step, from day zero to mated queen
Queen rearing sits at the heart of what we do at Black Mountain Honey. We rear thousands of queens every year, and the method we use has been refined over decades by many beekeepers. It’s not magic. It’s about understanding what bees want to do naturally, and giving them the right conditions and resources to do it.
This guide takes you through each stage in order. Don’t skip ahead. The process builds on itself, and the steps you take on day zero determine how successful you’ll be four weeks later.
What You Need Before You Start
Before you set anything up, you need to choose your grafting colony wisely. This is the most important decision in queen rearing. The larvae you graft carry the maternal genetics of your new queens. Choose the best colony in your apiary.
Look for:
- Calm temperament. If they’re difficult to manage now, their daughters will be too.
- Strong honey production. Select for the traits you want to carry forward.
- Good disease resistance. Avoid grafting from colonies with signs of chalkbrood or poor temperament.
- A proven laying queen. You want a frame of young larvae from a queen you trust.
You also need a strong host colony to act as your starter/finisher. This needs to be one of your biggest, most populated colonies. Queen rearing is resource-intensive. A weak colony produces weak queen cells.
Equipment checklist:
- JZBZ grafting cups and a cup bar frame
- A grafting tool (Chinese grafting tools work well; use what you’re comfortable with)
- A smoker, hive tool, and protective gear
- Mini mating nucs (poly nucs work best, painted in different colours)
- A cool storage location (7 to 8°C) for holding stocked nucs
- Fondant for feeding mating nucs
Want a complete, structured course?
These guides cover the essentials, but if you want to learn beekeeping step by step with video lessons and ongoing support, our course is built for exactly that.
- From complete beginner to confident beekeeper in a structured, logical order
- Video lessons built from decades of hands-on experience
- Learn at your own pace with lifetime access
- Pays for itself with just one extra super of honey from a single hive
1: Setting Up Your Starter/Finisher Colony (Day Zero)
The goal is to create a colony with two powerful drives working together: the swarming impulse and the emergency queen-rearing impulse. By combining both, you get a colony that takes grafts readily and produces excellent queen cells.
Here’s how to set it up:
- Find a large, strong colony with at least 10 frames of brood. This is your base.
- Place all 10 frames of brood in the bottom box, with the queen. Add a queen excluder on top.
- Fill a second brood box with 12 frames of capped brood only. No bees, no queen, no open brood. Just solid capped frames from around your apiary.
- Stack the second box directly on top of the queen excluder.
The worker bees will move up through the queen excluder and pack into that top box. Within hours you’ll have a dense cluster of nurse bees surrounding all that capped brood, with no queen present above the excluder.
Leave it for 10 days. Come back on day 10 to proceed.
2: Day 10 — Removing the Queen and Making the Colony Queenless
When you return on day 10, the capped brood in the top box has started emerging. You now have a box full of young bees and emerging brood, primed to rear queens. Your job is to make that box hopelessly queenless, so the bees are desperate to raise new queens from your grafts.
Here’s the process:
- Remove the top box and set it aside. This is your starter/finisher.
- Search the bottom box for the queen. If you find her, cage her. She’s valuable. Don’t risk shaking her through a queen excluder.
- Use the shaker box method to remove any remaining queens from the bottom box. Place an empty brood box on top of a queen excluder, then shake all frames from the bottom box through it. Any uncaged queens will be trapped below the excluder. The workers fall through.
- Combine the queenless nurse bees from the shaker box with your top box.
You now have a single box that is packed with nurse bees and completely queenless. This is your starter/finisher colony.
Before you graft, set the frame spacing. You want two frames removed from the centre, replaced with a pollen frame and a gap for your grafting frame. The bees need protein for queen rearing, and pollen is their source. Don’t skip this.
3: Choosing Larvae and Grafting Your Queen Cells
This is where most beginners go wrong. Larva size is everything.
You want larvae that have just hatched from the egg. They should be tiny – barely visible as a small white curl at the base of the cell, sitting in a pool of royal jelly. If the larva is starting to curl up or look chunky, it’s already too old. Bees can still make queens from older larvae, but the quality drops noticeably. You want them before the C stage when the angle is nice and wide.
A useful rule: if you’d describe the larva as “visible,” it’s probably borderline. If you’d describe it as “almost invisible,” that’s your target.
How to Graft
- Prepare your JZBZ cups. Press each cup firmly into the cup bar until it’s secure. Twist slightly if it doesn’t click into place — the cup isn’t a perfect circle.
- Take your grafting frame to the colony you’re grafting from. Work quickly. Don’t leave larvae exposed to wind or sun.
- Use your grafting tool to slide under the larva and lift it from the bottom of the cell. The larva should come out on a tiny bed of royal jelly. Lower it gently into the JZBZ cup.
- Work across the bar. Aim for a full frame of grafts — 20 to 30 cells if possible. Even experienced grafters can make mistakes. A full bar gives you plenty of margin.
- Get the grafting frame into the starter colony immediately. Don’t pause. Don’t set it down on a surface. Go straight from the grafting colony to the starter/finisher.
Once the frame is in, add a frame feeder with about one litre of 1:1 sugar syrup. Keep the syrup topped up throughout the process.
4: Checking Your Takes (48 Hours Later)
Come back 48 hours after grafting. This is your first indication of whether the colony accepted your grafts.
Carefully remove the grafting frame. Look for wax being drawn around each cup. The bees should be clustering on the frame and actively working the cells. If every cell has a wax rim and the bees are clearly attending to them, you’ve had an excellent take.
Cells that weren’t accepted are obvious. The bees ignore them, or they’re empty with no wax at all. Remove any empty cups at this point. Don’t leave them in.
What good takes look like: each cell has a visible wax rim and the bees are packed around the frame with purpose. In good conditions with a strong colony, you can expect 80 to 90% acceptance.
Top up the syrup, replace the grafting frame, and leave it for another 10 to 12 days.
5: Harvesting Ripe Queen Cells (Day 14)
On day 14, your queen cells should be capped and ripe. Handle this frame with extreme care. The cells are fragile, and any sudden movement can dislodge the pupa inside. Always keep the frame vertical with the cells pointing down.
Inspect each cell carefully:
- Good cells are fat, peanut-shaped, and firmly attached to the wax base. The wax should feel solid.
- Reject any elongated cells. An unusually long cell usually means the larva has fallen to the bottom. Open it to check. If the pupa is at the wrong end, discard it.
- Check for brace comb connecting cells. Trim it carefully with a sharp knife before removing cells.
You should have 10 to 30 viable cells from a good batch. Now it’s time to get them into mating nucs.
6: Setting Up Mini Mating Nucs
Mini mating nucs are small poly boxes designed to hold enough bees to support a virgin queen during mating. Getting them right makes a big difference to your mating success rate.
Setting up the box:
- Fill the feeder section with fondant — right to the top. You don’t want to keep opening these boxes.
- Place the yellow queen excluder between the brood frames and the feeder. This stops the queen laying eggs in the feeder.
- Fit the plastic crown board with the hole in the correct orientation. You need to be able to lower a cell protector through the hole once the box is stocked with bees.
- Check the lid fits tightly. You’ll be moving these boxes, and bees will find any gap.
Stocking with bees:
Always load bees from the bottom. Take a frame from your main apiary and shake the bees directly into the open nuc from below. Two good shakes from a well-covered frame is usually enough. Don’t shake your grafting frame.
Once the bees are in, close the entrance immediately and keep it closed.
Adding the queen cell:
Use a cell protector. It prevents the bees from gnawing through the side of the cell, which dramatically improves emergence success. Lower the cell protector through the crown board hole and into the gap between the frames. Then add your ripe queen cell and close roof.
7: Cold Storage and Moving to the Mating Apiary
This is the step people most often get wrong. You cannot just place a stocked nuc at your home apiary and open the entrance. All the bees will fly back to their original hive.
The rule is simple: lock the bees in with the emerging queen cell and keep them cool for at least 24 to 48 hours before moving them to a new site. Seven to eight degrees Celsius is ideal. A cool garage, shed, or spare fridge works well. The bees will keep the queen cell warm inside the mini hive.
The cold temperature settles the bees and breaks their orientation to the original hive. When you open the entrance at the mating site, they’ll treat that location as home.
At the mating site:
- Place nucs close together, but stagger them. Don’t line them up in a row — queens returning from mating flights will drift into the wrong box.
- Face entrances in slightly different directions where possible.
- Open all entrances at the same time.
- Leave them alone for four weeks.
8: Inspecting Mated Queens
Four to five weeks after placing the nucs out, it’s time to check your results.
Signs of a successful mating:
- The box is full of bees. A failing colony collapses quickly.
- You can see capped worker brood in a solid, even pattern.
- The queen is present and moving purposefully.
- The bees are calm and working with purpose.
Signs of a failed mating:
- Bees are clustering in the feeder area rather than over the brood.
- You see scattered eggs on pollen cells, not in brood cells.
- The pattern is irregular or sparse.
A failed mating usually means the queen didn’t get enough flights. Bad weather during the mating window is the most common cause in the UK. In a normal year, expect a 50 to 55% success rate. In a warm, settled summer, you can push that towards 85 to 90%.
Marking your queens:
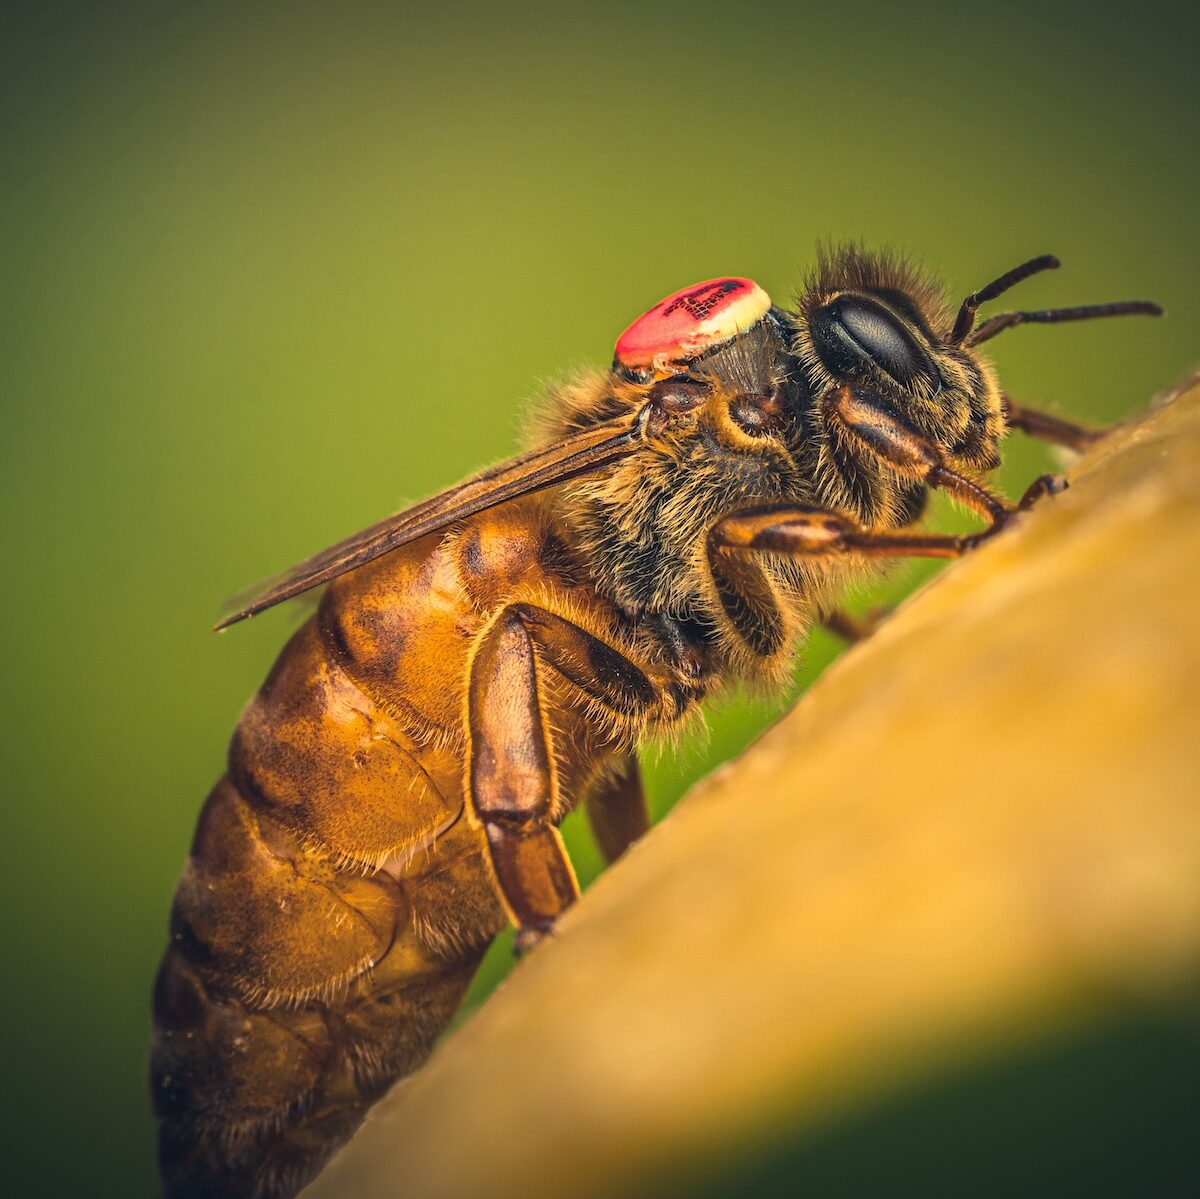
- Use a good quality oil based marker. Give it several pumps to clear any excess paint before you touch the queen.
- Pin the queen gently against the comb.
- Apply a neat circle of paint to the thorax.
- Release her and watch she moves off normally.
Use the international colour coding system. Pink for 2025 and 2030. Yellow for 2026 and 2031.
Ready for Your Own Queens?
Rearing queens gives you independence. You’re no longer reliant on availability windows or waiting lists. You can replace failing queens quickly, make splits, and build up your apiary on your own schedule.
If you’d rather start with a proven, mated queen from stock you can trust, our queens are selectively bred for calm temperament, strong honey production, and natural disease resistance. Every queen leaves our apiaries with Laurence’s personal approval.
Signature
Recommended
The queens most of our customers choose and come back for year after year. These represent the typical Black Mountain Honey experience: proven performance, calm temperament, and strong productivity.
UK queens
Bred and mated in secluded UK breeding stations by trusted family producers we’ve worked with for years. Fully acclimated to British weather, proven to thrive through wet summers and cold winters. The natural choice if you want locally raised bees.
VSH
Bred for Varroa Sensitive Hygiene. These bees actively detect and remove Varroa-infested brood. A smart choice if you want bees that help manage mite pressure naturally, without relying solely on treatments.
Obsidian
Our darkest line, and a favourite for anyone who loves a bit of character in the hive. They fly in cooler conditions, produce huge amounts of wonderfully fragrant propolis, and stay lovely and calm to work. A brilliant pick for an apitherapy setup.
More Guides on Queen Rearing and Management
-
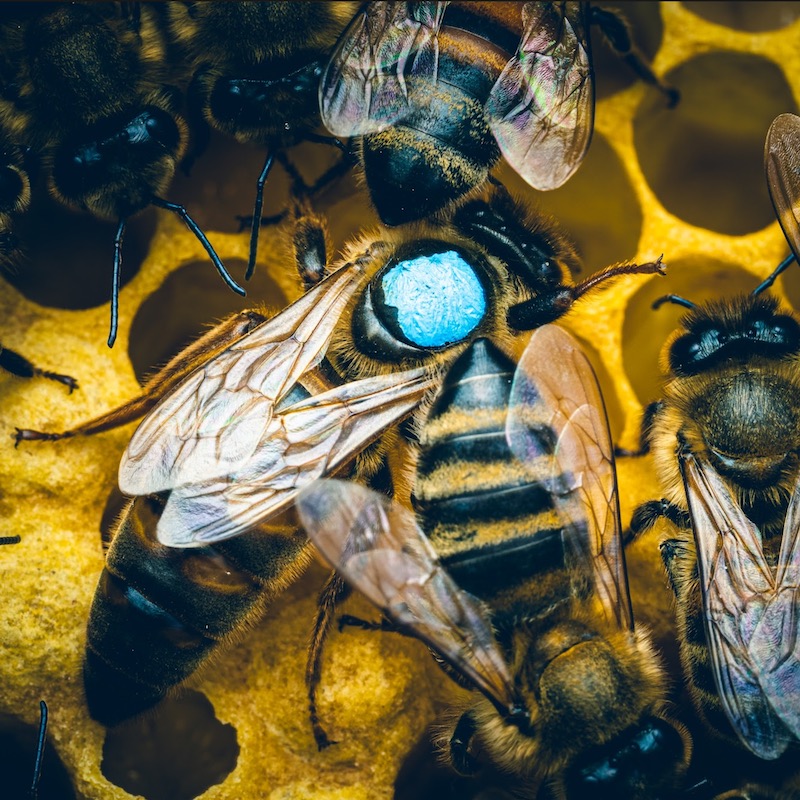
How to requeen a beehive
The reliable slow-release method we use to swap a failing or aggressive queen for a calm, well-bred one, explained step by step. -
Are My Bees Queenless?
Worrying about whether your colony is queenless is one of the most common anxieties in beekeeping. The good news is there’s a simple, reliable test that gives you a definitive answer, no guesswork required.