Your practical guide to getting started in beekeeping.
Thinking about keeping bees? You’ve come to the right place. This guide covers everything you need to know before your first hive arrives, from choosing equipment to buying your first colony. Practical, honest advice from a beekeeper who’s made every mistake so you don’t have to.
- Step-by-step advice from someone who actually keeps bees for a living
- No jargon, just clear, practical guidance for beginners
- Backed by experience managing hundreds of colonies across multiple apiaries
Whether you’re researching beekeeping for the first time or you’re ready to place your order, start here.
Beekeeping is a brilliant hobby. It’s fun, challenging, rewarding, and the whole family can get involved. But it’s also the kind of hobby where a bit of preparation goes a long way. The steps below will save you time, money, and a lot of frustration in your first year of keeping bees.
How to start beekeeping: six steps to your first hive
1. Learn before you buy
Do as much research as you can before your bees arrive. Read books, watch videos, and talk to other beekeepers. The single best thing you can do is join your local beekeeping association and attend a taster day. You’ll get to see and handle bees in person, and you’ll know straight away whether beekeeping is for you.
If you can, find yourself a mentor through your local association. Having someone you can call with questions (there are no stupid questions) will save you from making the classic beginner mistakes. And if you can’t find a local mentor, Laurence answers questions on every video and holds live Q&A sessions every few weeks.
One important note: if you have a severe allergy to bee stings, beekeeping probably isn’t for you. A mild reaction is manageable with proper protective equipment, but a severe allergy is a serious risk.
2. Get your equipment sorted
If you’re in the UK, go with either a standard National or a standard Langstroth hive. Pick one type and stick with it. Mixing hive types creates endless compatibility headaches.
Buy your equipment in the off-season (October to February) when suppliers offer better deals and faster delivery. Buying in May means top prices and long waits.
Here’s what you need to get started keeping bees:
- A fully assembled beehive with floor, brood box, queen excluder, crown board, and roof. Buy it pre-assembled if this is your first hive. The tolerances matter more than you’d think (bee space is around 8mm, and getting it wrong causes real problems).
- Three to four supers per brood box. Most starter kits only include one or two, and that’s nowhere near enough for the season. A 4:1 super-to-brood-box ratio will see you through.
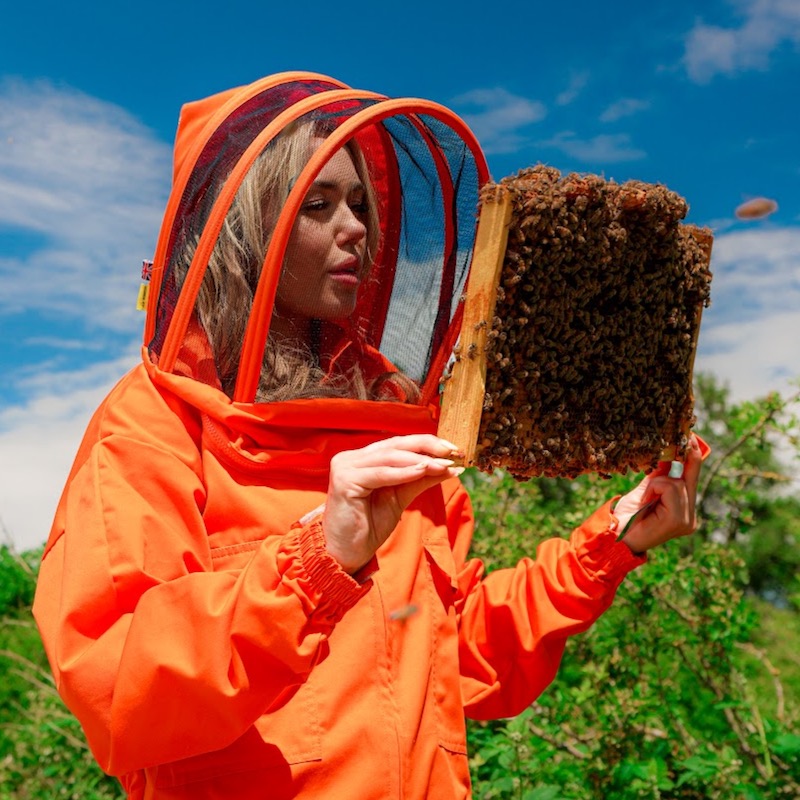
- A good bee suit. Don’t skimp on this. A ventilated suit keeps you cool and sting-free. Worth the investment from day one.
- A smoker. A large stainless steel one will last a lifetime.
- A stainless steel hive tool. Nothing fancy needed.
- Nitrile gloves with long cuffs. Tighter gloves give you better frame handling and are much better for hygiene than thick leather ones.
For hive material, poly hives are lighter and better insulated. Cedar is the best wooden option in the UK climate. Avoid pine. It rots quickly in wet British weather and needs constant upkeep.
Want a complete, structured course?
These guides cover the essentials, but if you want to learn beekeeping step by step with video lessons and ongoing support, our course is built for exactly that.
- From complete beginner to confident beekeeper in a structured, logical order
- Video lessons built from decades of hands-on experience
- Learn at your own pace with lifetime access
- Pays for itself with just one extra super of honey from a single hive
3. Choose your location
Most beginners plan to keep bees in the garden. That works fine with one or two colonies, but if you can find an out-apiary (just a fancy term for someone else’s land), your beekeeping will be much more enjoyable. Speak to a local farmer. It’s often easier to arrange than you’d think.
If you’re keeping bees in the garden:
- Put them where they’re out of the way of people first. That matters more than compass direction.
- If you’ve got a choice, face them south for maximum sun exposure. More sun means the bees get up earlier and work later.
- Keep them out of the wind if possible. Even on warm days, wind stops bees from flying.
For your hive stand:
- Keep hives at waist height. Bending over hundreds of times a season will destroy your back.
- Make sure the stand is level and sturdy. Ratchet straps are a good idea in exposed locations.
- Keep hives well away from paths, driveways, and any areas with regular foot traffic.
4. Buy your bees
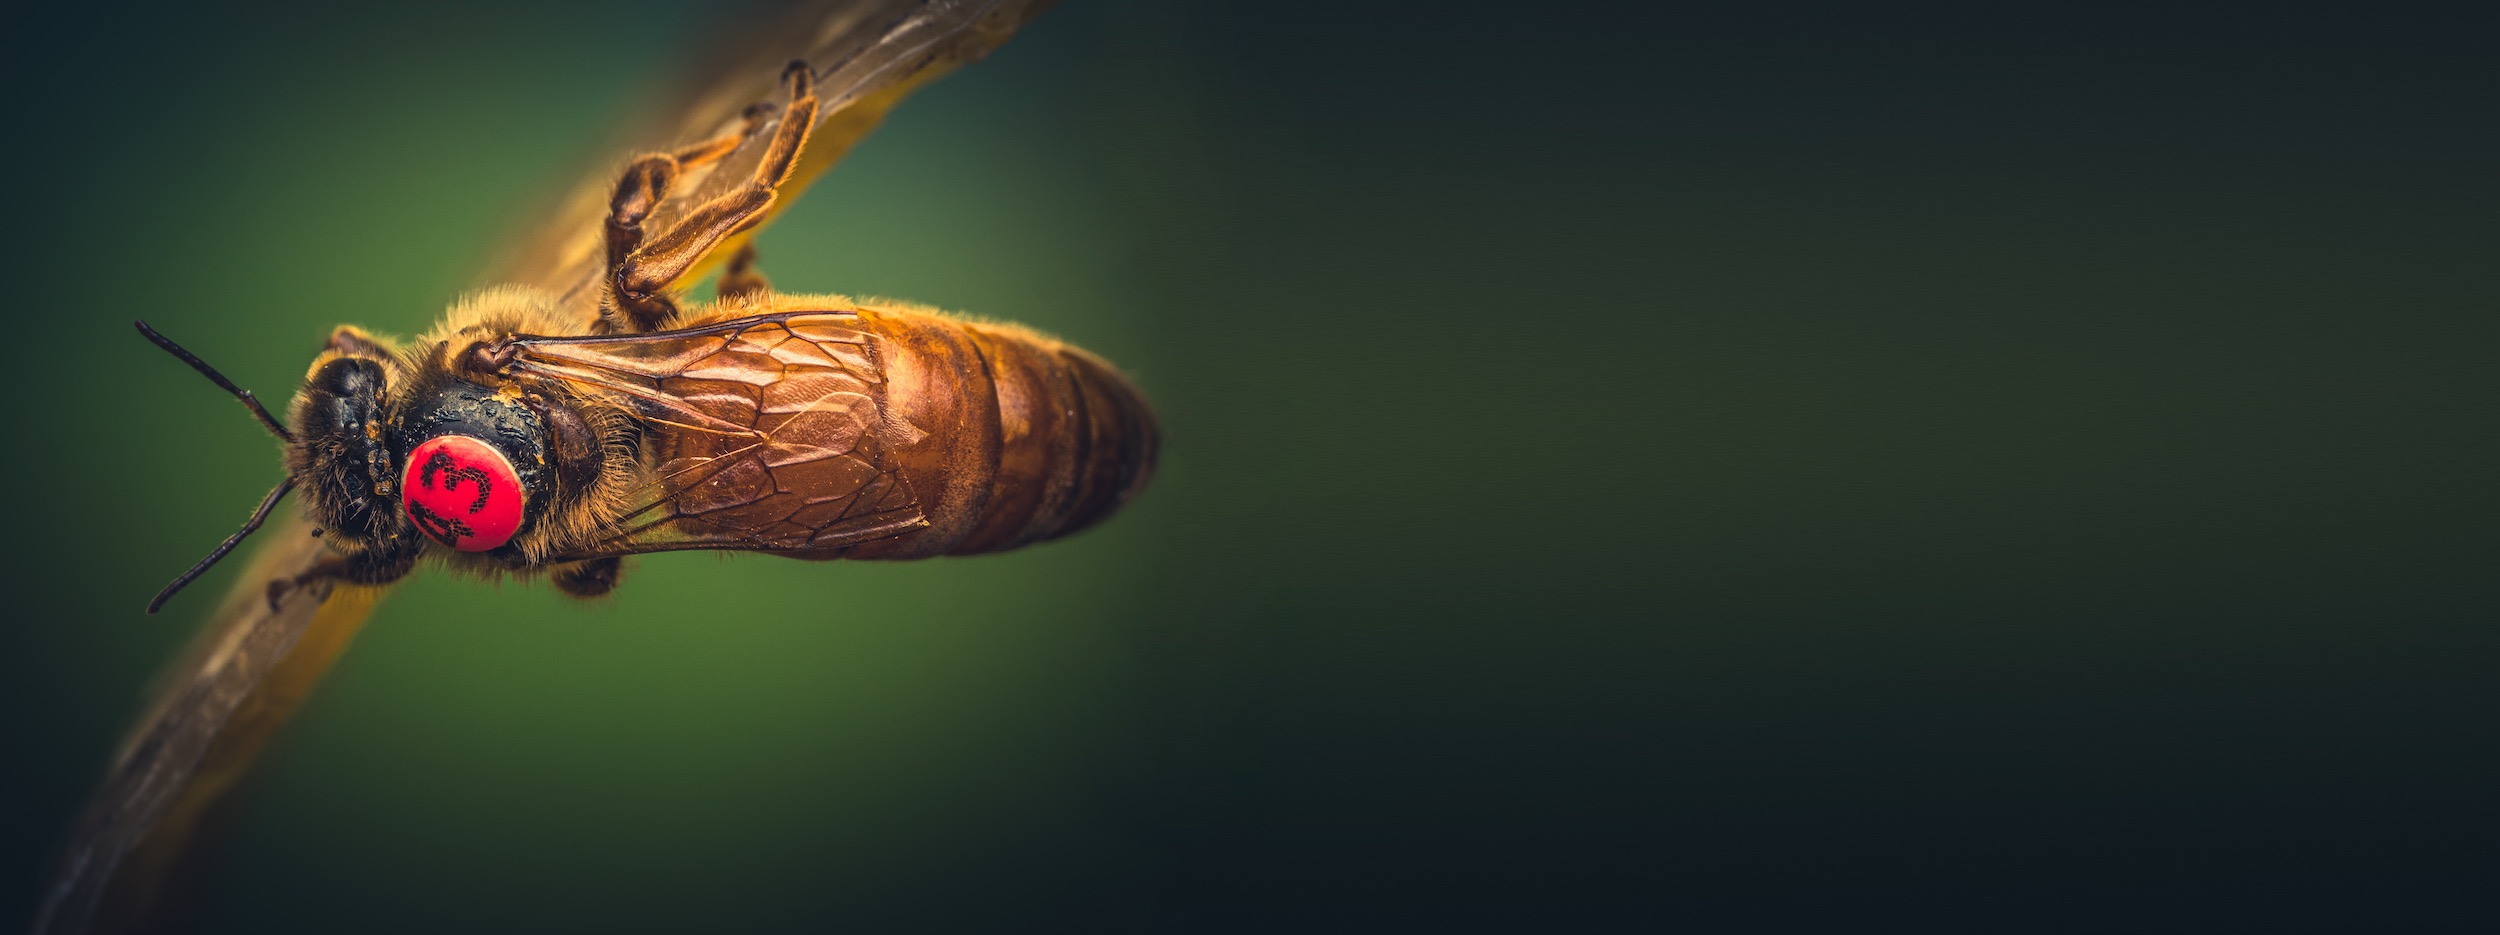
We always recommend starting with a nucleus colony (a “nuc”) rather than a package of bees or a caught swarm. A nuc comes with a mated queen, workers, and brood in all stages. That brood acts as an anchor, so the bees won’t just fly off. Packages and swarms can and do exactly that.
Tips for buying your first nuc:
- Order early. Overwintered nucs sell out fast, often by January. Don’t wait until spring.
- Go for an overwintered nuc if you can. The queen has already proven herself through a full season, so you know she’s well mated and laying well.
- Buy from a trusted supplier. Make sure the bees have been inspected for disease by a qualified beekeeper. Cheap bees rarely end up being a bargain.
5. Manage your first season
Once your nuc arrives and you’ve transferred the bees into your hive, the real learning begins. Here’s what to focus on in your first year of beekeeping:
Feeding: Start feeding your colony 1:1 sugar syrup (1kg sugar to 1 litre of water) straight away. Keep feeding until the bees cover about 80% of the frames in the brood box, then stop. Put your queen excluder and supers on at that point. Don’t keep feeding once supers are on, or you’ll contaminate your honey. Read our full feeding guide.
Weekly inspections: From early spring through to late summer, inspect your bees once a week. Choose a consistent day and stick to it. You’re looking for signs of disease, checking the colony is healthy, and most importantly, watching for swarm cells. Read our guide to your first inspection.
Swarm prevention: Your bees will try to swarm. It might not happen in year one, but it probably will. Learn to spot the early signs (uncapped swarm cells on the bottom of frames) and have a plan ready. Swarming is the single biggest challenge for new beekeepers, and the reason most people lose their honey crop. Read our swarm prevention guide.
Disease management: Learn to identify Varroa mites and the different types of foul brood. Treat for Varroa on schedule. In the UK, mid-August is the standard cutoff: take off honey, put on mite treatments, give the bees a feed, and leave them alone until spring. Read our Varroa management guide.
For a deeper look at managing your colony through the full year, see our guides on how to look after your bees and how to prepare your bees for winter.
6. Keep learning and growing
Beekeeping is the simplest hobby you’ll ever have. It’s also the most complex. Every season teaches you something new, and even experienced beekeepers are still learning.
- Join your local beekeeping association for support, mentoring, and community
- Watch our YouTube channel for weekly practical videos and live Q&A sessions
- Keep simple records of your inspections, focused on what actually matters (colony status, swarm signs) rather than trying to record everything
- Stay connected with your neighbours. Even the calmest bees can have a bad day. Good relationships are your insurance policy.
And one piece of advice Laurence considers the most important of all: have an emergency plan. Pin your apiary locations on Google Maps or What3Words. Share them with your partner. Make sure your phone is charged before every visit. If something goes wrong in a remote location, you need someone who can find you.
More starting guides
-
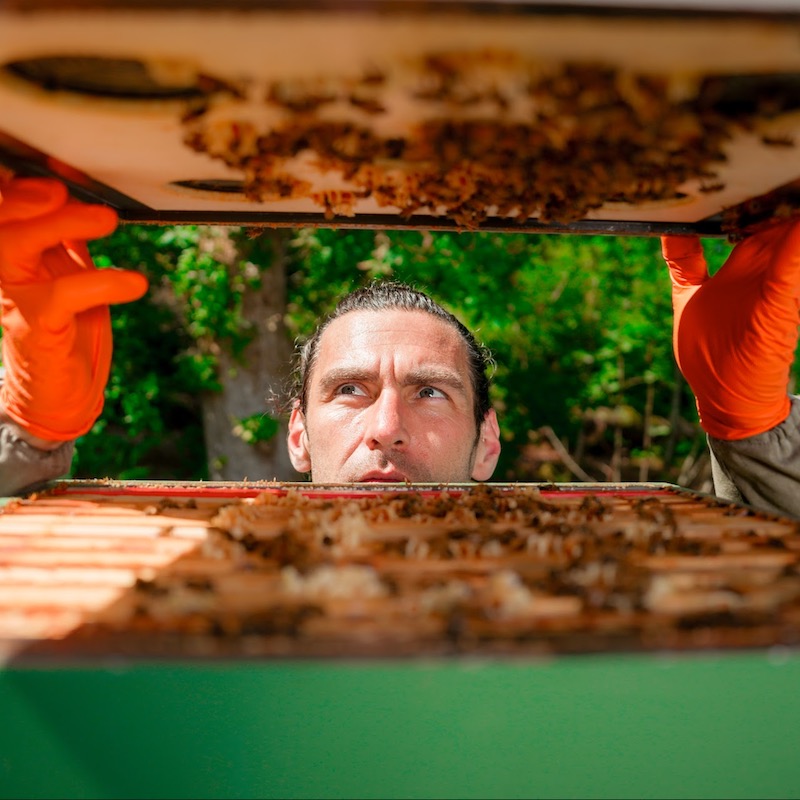
When to Do Your First Inspection
You’ve overwintered your bees. The weather’s warming up. You’re itching to get inside that hive. But when should you actually do your first inspection of the year, and what should you be checking for? -
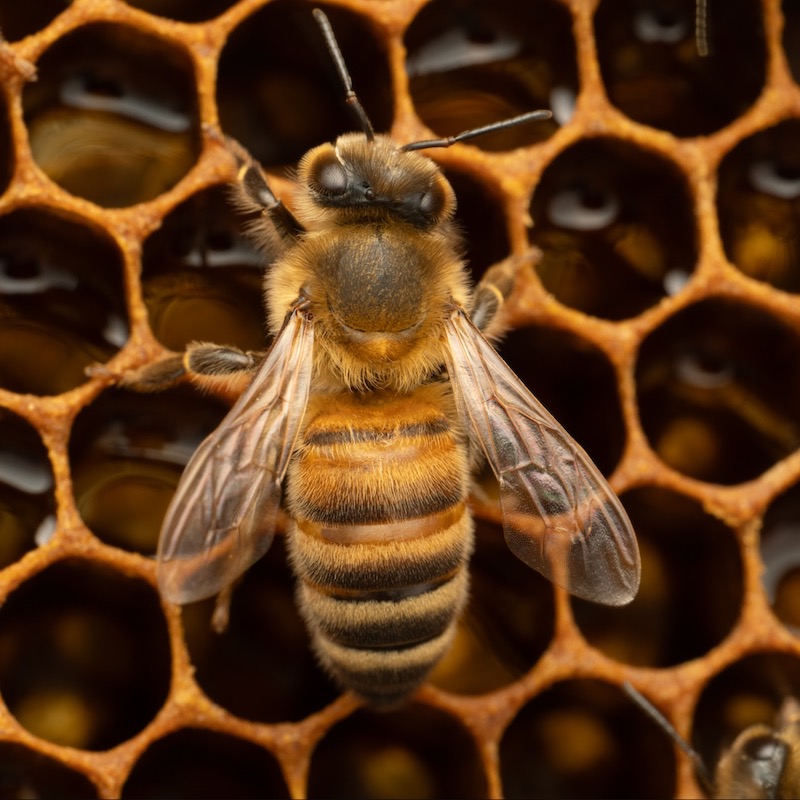
Flow Hive extraction done right
The Flow Hive promises honey on tap. But getting it out cleanly, without bees and wasps gatecrashing, takes a bit of know-how. -
Beekeeping FAQs
Straight answers to the 20 beekeeping questions we get asked most, from calm queens and varroa to feeding, swarming and winter losses.