Rescuing an Abandoned Beehive: A Step-by-Step Guide
- Laurence Edwards
- Jul 7, 2025
- 4 min read
Discovering the Abandoned Hive
A local landowner got in touch and asked if I could come and take a look at an old, abandoned beehive on their property. I couldn’t resist — sometimes these hives turn out to be ok but they can also be absolute horror shows. Disease, pests, years of neglect... things can go downhill fast when a colony’s left to fend for itself.
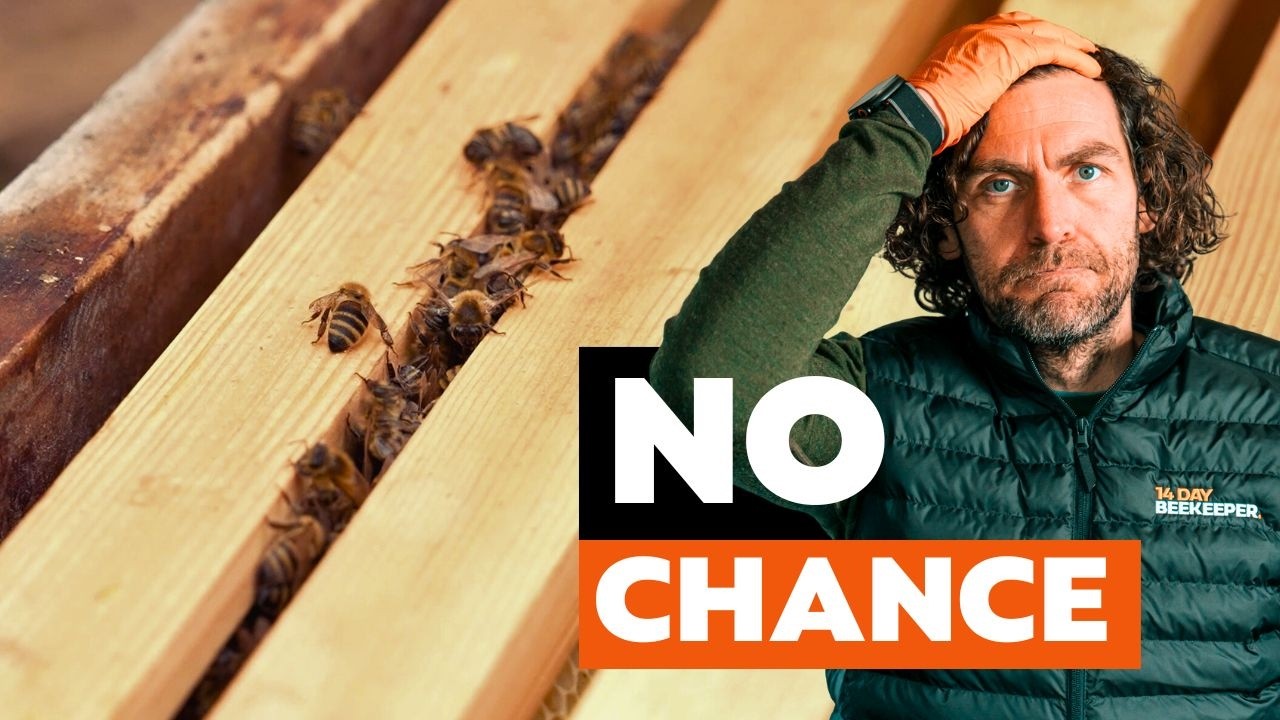
When I turned up and opened the hive, it was clear the bees were in a bad way. The comb was a complete mess — wild, cross-wired, and all over the place. Straight away, I spotted signs of a serious varroa infestation. There wasn’t even any brood that I could see. This colony was hanging on by a thread.
My first thought was to walk away — the risk of bringing disease into my own apiaries was way too high. But I couldn’t do it. I couldn’t just leave them. So I made the call to step in, take the hive home, and try to nurse it back to health. They might not make it — but they’ve got a better chance now than they did before.

Preparing for Transport
First job was getting the hive packed up safely so I could move it to one of my quarantine apiaries. I lifted off the roof and found an abandoned super full of old, mangled frames. Under that was a queen excluder completely coated in propolis — actually really nice — and that’s where the last of the feral bees were clustered on the brood frames below.
To keep everything secure for transport, I popped an upturned roof on top of the brood box and ratchet-strapped the whole thing tight. That way, the bees couldn’t escape in the van. I also grabbed a couple of the extra supers — thought I might be able to refurbish them and put them back into service.
Before heading off, I made sure to tidy the site properly. Anything too far gone or crawling with disease got torched on the spot — a proper burn-up. It's the only way to stop any pests or pathogens spreading to healthy colonies nearby.

Assessing the Colony's Health
Once I got the hive set up in the quarantine apiary, the first job was a proper inspection to see what I was dealing with. I cracked open the hive and started going through the frames, carefully looking for the queen. After a bit of gentle digging, I spotted her — a lovely orange-banded local mongrel queen, still doing her thing.
I gave her a quick dab of pink paint so I could keep track of her going forward. While I was in there, I hit the colony with an oxalic acid treatment to start knocking back the varroa — they were absolutely riddled with it, and this was a top priority.
Surprisingly, the brood frames looked pretty good. There was brood in all stages and the bees were still building up well. For a colony that had been left to rot, they were actually in decent shape. Still, the real challenge would be giving them a proper reset — fresh comb, fresh equipment, and a clean slate.

Executing the Shook Swarm
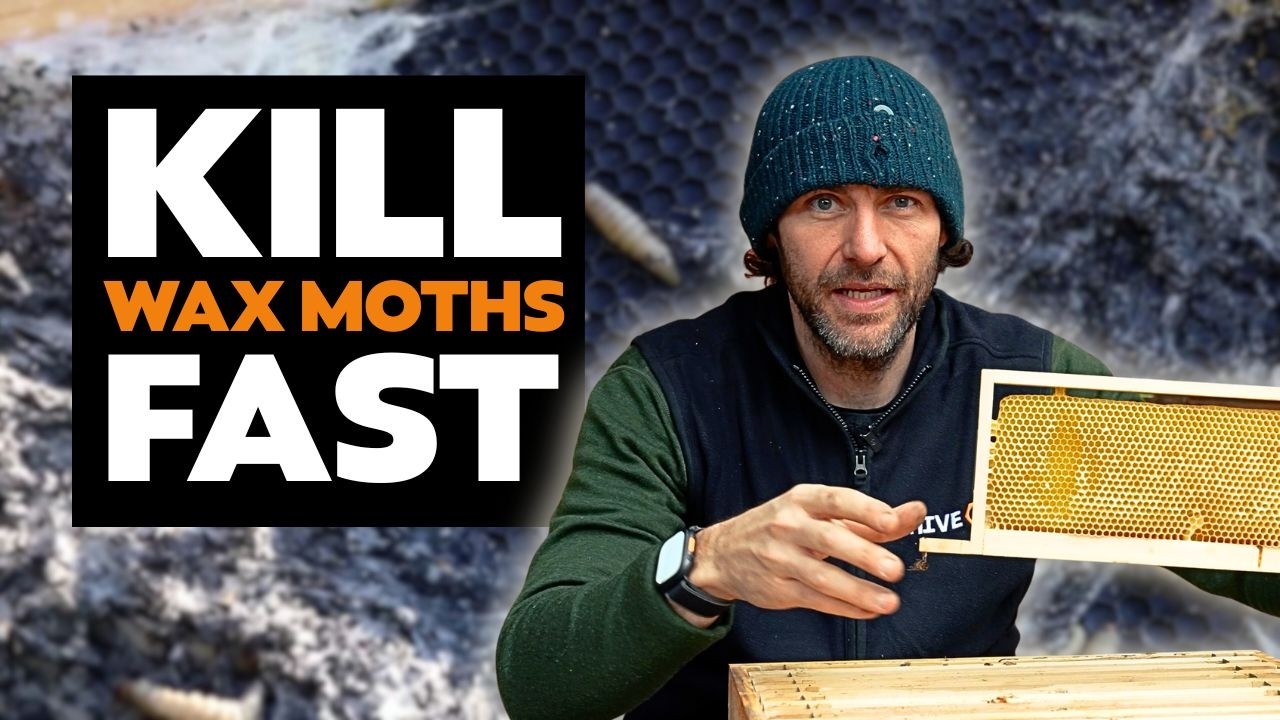
Three weeks after bringing the colony back, it was time for a shook swarm — the best way to give them a completely fresh start. It’s a simple but powerful technique that removes the bees from all their old gear, which could be harbouring disease, and puts them straight onto clean foundation in a brand-new hive.
I set the new hive up in the exact same spot as the old one so the flying bees could easily find their way back. Then I carefully found the queen and placed her in the bottom brood box. I added a queen excluder above to make sure she stayed put while the rest of the bees settled in.
Once she was secured, I shook every frame of bees into the new hive, one by one. After that, all the old gear — the frames, the box, the lot — went straight into the fire. No messing around. It’s the only way to properly break the disease cycle and give the colony a clean bill of health.

Monitoring the Colony's Progress
In the weeks after the shook swarm, I kept a close eye on how the colony was doing — and honestly, they didn’t disappoint. The bees got straight to work drawing out the new foundation, building up fast, and the queen was laying flat out. You could see the health of the colony improving week by week.
As spring rolled on, I kept feeding them and kept a close watch on varroa levels. The colony was doing so well, I ended up bringing them into one of my multiplex queen rearing systems. It was a great way to put their strength to good use and help produce a new batch of queens.
By the end of the season, this little rescue mission had turned into something special. What started as an abandoned, disease-ridden hive was now a booming, productive colony. Seeing them come back from the brink like that — it’s what makes beekeeping so rewarding.

Lessons Learned
Abandoned hives can be a real mess — full of risk and disease — but if you handle them properly, they’re often worth saving. A full inspection, some well-timed treatments, and a shook swarm made all the difference for this colony. It’s not a quick fix — it takes time, patience, and a fair bit of graft to turn things around.
Cleaning up properly is just as important. Burning the old kit is the only way to stop the spread of disease to your other colonies. And once a rescued colony’s back to full strength, they can play a really valuable role in your wider operation — whether that’s producing honey, rearing queens, or building up new nucs.
So if you ever come across an abandoned hive, don’t just walk away. With the right know-how, you can give those bees a proper second chance — and there’s nothing more satisfying than seeing a colony bounce back from the brink.
If you want to learn more about beekeeping, improving your hive management, or getting support from someone who’s been there and done it, check out the resources over at Black Mountain Honey — blackmountainhoney.co.uk