Royal Mail special delivery
We send all of our live products using Royal Mail's Special Delivery Service
DASH accredited
As responsible, sustainable and committed bee farmers, we hold full DASH accreditation.
Customer service
Got a question? Drop us a message or call. We are always happy to help you!
.jpg)

1. FIND QUEEN
Day 0: I like to start my process by finding and marking the queen in the strongest hive in the apiary (most brood frames) that will become my cell builder starter. Find the queen. Mark her. Clip her wing and replace back into the hive. You can leave this step until later but I prefer to do this at the beginning.
If you cant find her, take a look at this video to help track her down - FIND A QUEEN.

2. BUILD YOUR STARTER
Day 0: Once you have marked your queen, place her in a single brood box with as many frames of brood as possible from that starter colony. Between 10-12 frames of brood is ideal.
Add a queen excluder on top of the brood box and place another single empty brood box on top of the queen excluder. This configuration will be used to start your queen cells by boosting the number of young bees!

3. FETCH CAPPED BROOD
Day 0: Go around your apiary and select 1 or 2 frames of CAPPED brood from your strongest colonies. You need 10-12 in total so that the top box (above the queen excluder is FULL of capped brood frames. Shake the bees off the frame. You don't want to add bees - just the brood frames. If you cant fill it all with 100% capped brood then just go for the best brood frames you have available. The aim here is to boost the amount of young bees in the hive.

4. SWITCH BOXES
Day 8: Immediately after destroying ALL the emergency cells, the colony is now hopelessly queenless. They have no queen and no resources (eggs or larvae) to create one.
Add a mated queen, in a sealed queen cage and place between two frames of brood. Do not remove the tab covering the fondant.

5. FIND QUEEN
Day 10: Go through the frames in the bottom box and find the queen and place her into a cage for safe keeping. Its much easier to do this is if you marked the queen earlier on in the process.
You can also take the queen away and use her to make up a split. She is no longer required for this process

6. SHAKE BEES
Day 10: Once the queen has been isolated from the bottom box, go through every single frame and shake all the bees into the shaker box.
The aim here is to leave ALL the bees from both boxes PLUS the frames from top box and NO queen ALL into a single 10 frame brood box. The box will be bubbling with bees and it looks like they are struggling to fit. This is what you want and means you get good queen bees.
.jpg)
Super impressed with the speed and efficiency of the order process. The queen's arrived healthy and have settled well into the hives. Where I once had unfriendly, aggressive bee's I now have placid and incredibly busy bees. Thank You
Julie Boyce

7. FIND A POLLEN FRAME
Day 10: Go through all of your colonies and find your very best pollen frame that is as full as possible with a nice, fresh variety of bee bread.
You can top this up with pollen sub but nothing beats the real thing. I find good pollen frames throughout the year and store them in the freezer until you need them. You never find the good ones when you are in a rush to find one!

8. START GRAFTING
Day 10: Take a frame of eggs from a breeder queen colony or your very best colony of bees in the apiary. Choose the colony with the biggest honey crop or the calmest bees.
Using a grafting tool start transferring 4 day old larvae into a preprepared cell grafting frame with cups. I prefer JZ-BZ cups and use two rows of 12.

9. ADD TO STARTER
Day 10: Make a space in the middle of the 10-12 frames of brood - enough to take two frames. Add your pollen frame into the space and then add your frame of grafted cells.
Ensure that the frame of grafted cells is as close as possible to the best side of the pollen frame. Giving them easy access means you get the best results.

10. ADD A FEEDER
Day 10: Close to the colony back up and add a sugar syrup feeder. You must feed the bees during this phase with 1:1 sugar syrup to simulate a flow. The bees will only raise queens under the right conditions.
They need sufficient protein (pollen) and INCOMING carbohydrates (1:1 sugar syrup). Some like to add a cup of Ultra Bee pollen sub into the syrup at this stage. I tend to leave it out

11. REMOVE CELLS
Day 20: Carefully remove your queens cells and split the remaining brood in the colony to create some nucs. You can also have mini mating nucs already prepared with bees.
Add a single capped queen cell to each nuc or mini mating nucs and be careful not to damage or knock the cells. Some like to carefully wrap foil around the cell leaving only the top open to stop the bees chewing them down.

12. CHECK FOR EGGS
Day 41: After we have placed cells, we leave them alone for 3 weeks before returning to check to see if the queen has mated. If we see eggs laid in a nice pattern its generally good news. But we have to wait until see we a nice pattern of capped worker brood before we know the queen is well mated. Once mated you can use the queen to requeen another beehive or make up some nucs or splits. Raising your own queens is SO much fun. Give it a try!
How to rear queen bees using Richard's method
In this video, I show you the method of my beekeeping partner, Richard Stevens. The method that Richard uses is different from mine and is easier to use for people with few beehives. It's a starter/finisher all in one process which is very resource efficient for beekeepers with only a few beehives.
ORDER QUEENS BEFORE 4PM FOR NEXT DAY DELIVERY
We rear our own UK mated queens
Our queens are bred from the healthiest and most productive colonies, ensuring strong and thriving hives. Experience the benefits of our premium queens and take your beekeeping to the next level with our UK Mated F1 Buckfast Queens.


.jpg)
Have had two Buckfast queens. Fast delivery, lovely calm and prolific queens. Bees are a joy to handle. Highly recommended!
Michael Fish
Our ordering process is simple
We do our best to make things as simple as possible. From fast checkouts to Apple/Google Pay. We have you covered.
Easy Ordering
Our website is backed by WIX so it's super-fast and secure. We support fast checkouts with Google/Apple Pay to make ordering as simple as possible. We take all major credit /debit cards.
Fast Delivery
We work as hard as the bees to get your orders to you ASAP. Queens/Nucs are sent via Royal Mail’s Special Tracked Next Day Delivery and all other orders are sent via a Tracked 48hr service.
Customer Service
We don’t just deliver your bees and abandon you. We produce a wide range of videos to help you become a better beekeeper. We are always contactable by phone, email or WhatsApp.
Quality Products
Whether you want to buy queen bees or you are looking for nucs for sale, quality is everything to us. We don't cut corners! When you buy from BMH, you get the very best bees money can buy.
Discover Nucs Bees Case Studies

Why This Swarm Died In The Box?
Over Christmas I was having a tidy up, moving stacks of boxes around, when I noticed something that caught my eye... Inside a stack of stored equipment, I found a dead colony of bees. Whenever you find a dead colony, the first thing you should do is not panic. The second thing you should do is investigate properly. So I decided to do a full dead swarm autopsy and work out exactly what had happened. The Configuration Was a Disaster Before even looking inside, the setup itself told a story....

Why Cold Weather Might Be A Blessing For Your Bees
Most beekeepers see snow and frost and immediately worry that their bees are going to starve or struggle. But in the UK in particular, cold weather is usually not the enemy. In fact, cold weather can be a blessing for your bees and can be one of the best things for a colony because it makes winter predictable, and predictable winter is what stops colonies quietly burning through stores and ending up in trouble. In this blog I am going to explain why cold weather helps, what the real winter...
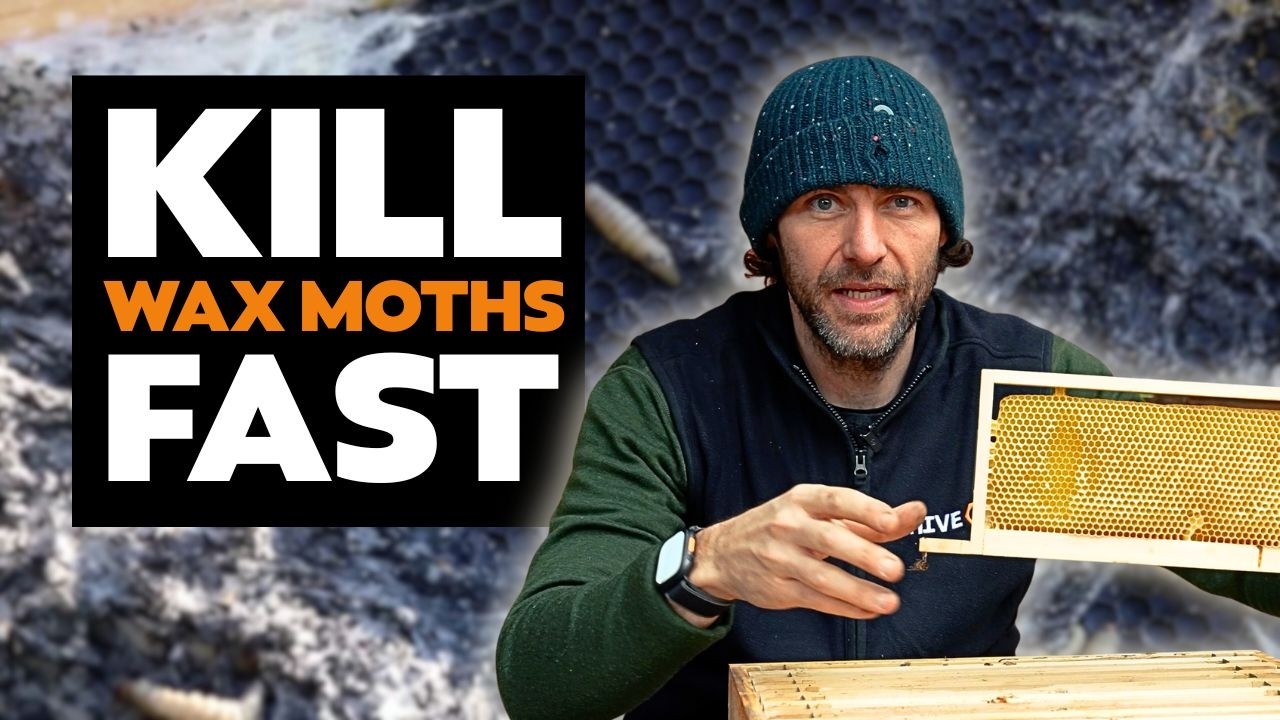
Use A Hard Frost To Kill Wax Moth In Stored Frames With No Chemicals
Wax moth can absolutely ruin a stack of stored brood comb and what makes it worse is that most people only react once they spot the damage, by which point the frames are already on the way out. I want to show you a simple winter trick that costs nothing, uses no chemicals, and works brilliantly if you get a proper hard frost. This is one of those rare moments in beekeeping where nature hands you a free solution. You just have to use it properly. Killing wax moth In a good colony, wax moth is...

How To Mark A Queen Bee
Marking a queen bee is one of those small jobs that makes a huge difference to your beekeeping. Once you know how to mark a queen safely and confidently, everything from finding her on a busy frame to tracking her age and performance becomes much easier. In this blog I will walk you through exactly how I mark a mated queen, the tools I use, and some simple tips to help you avoid common mistakes. If you have ever thought “I can never find my queen” or “I am too nervous about hurting her”,...
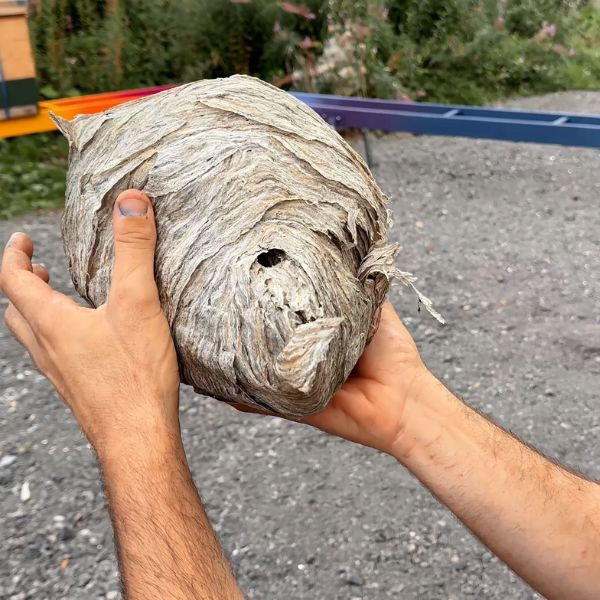
A Look Inside An Old Abandoned Wasps Nest

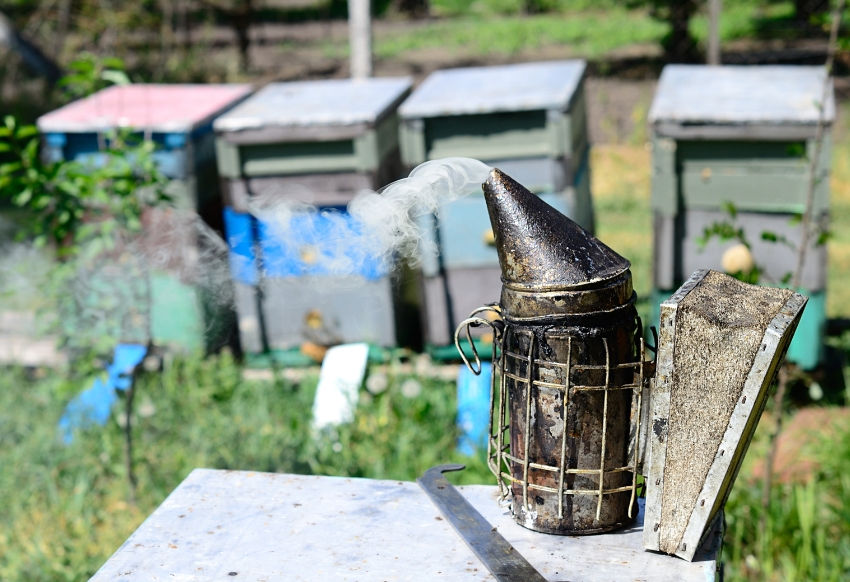
How To Light A Bee Smoker - Heat, Fuel and Cool

How To Scorch, Clean and Sterilise Beehives

How I Extract Honey From Honeycomb

How To Make Natural Beeswax Firelighters From Old Brood Frames
Old brood frames and scrap beeswax can look like a horrible mess, but there is still a lot of value left in them. Once I have rendered out as much wax as I sensibly can, there is often a pile of darker, lower grade wax that I would never use for candles or cosmetics. Instead of throwing it away, I turn it into simple, natural firelighters. In this guide I will walk you through how I make beeswax firelighters using wood wool and recovered wax from old brood frames. This is not about fancy...

How To Render Beeswax Cappings Into Beeswax Blocks
Beeswax cappings are one of the nicest by products of extracting honey. They look and smell fantastic, they are usually much cleaner than old brood comb, and they give you some of the highest quality wax you will ever get from your bees. A lot of beekeepers scrape them off, let them pile up in a tub and never quite get around to dealing with them. That is a shame, because with a simple process you can turn those sticky cappings into clean wax blocks ready for candles, polishes or swapping in...

How I Time My Varroa Treatment Around A Cold Snap To Kill More Mites
Varroa is still the number one health threat to honey bees in the UK. You feel it in spring when colonies that looked fine in autumn come out weak, slow and virus ridden. One of the biggest improvements I have made in my own beekeeping is learning to time winter oxalic acid treatments around a natural brood break, instead of just picking a random date on the calendar. In this guide I will show you how I use the first proper cold snap as a trigger, apply a simple three week rule and then treat...