How To Scorch, Clean and Sterilise Beehives
- Laurence Edwards
- Jan 7
- 8 min read

Keeping wooden beekeeping equipment clean and disease free is one of the least glamorous parts of beekeeping, but it makes a huge difference to the long term health of your colonies.
In this blog I am going to walk you through exactly how I clean, scrape, scorch and sterilise my wooden kit so you can reuse equipment confidently without putting your bees at unnecessary risk.
I will focus on standard wooden kit such as brood boxes, supers, floors, roofs and crown boards. The principles are the same whether you have new gear that just needs a tidy up or second hand equipment that you want to bring safely into your own apiary.

Before You Start: When You Must Burn, Not Clean
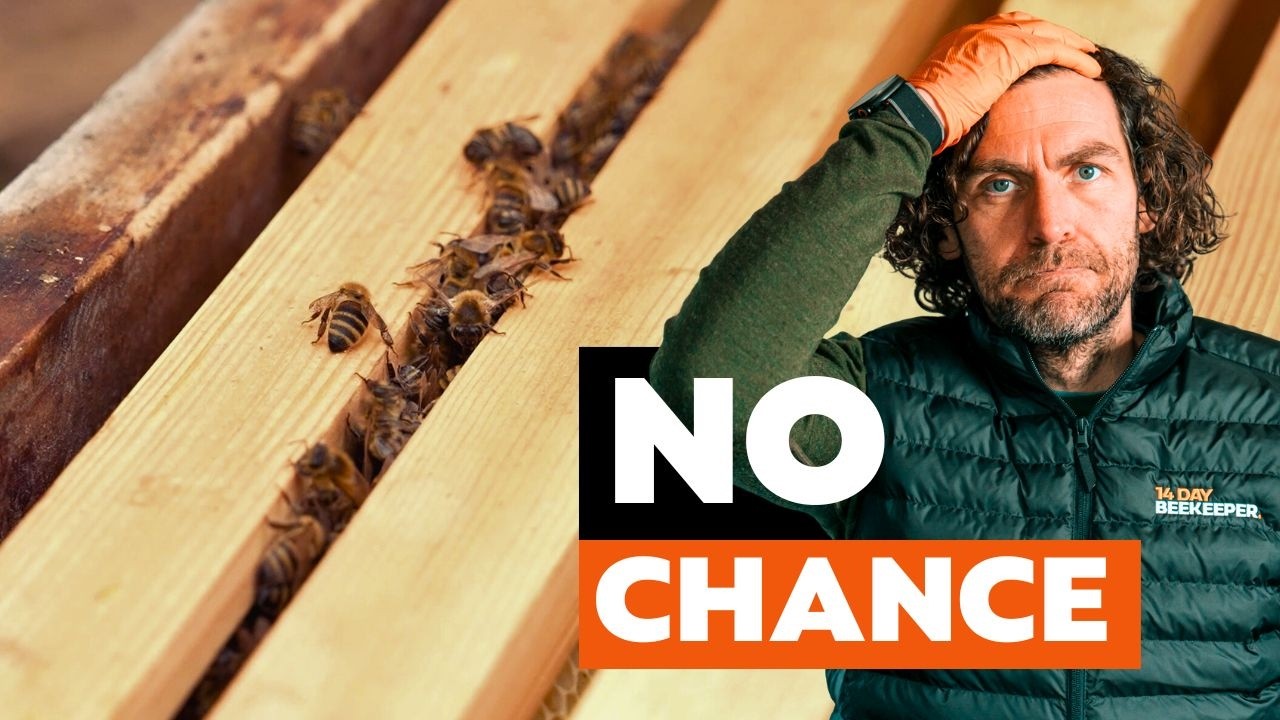
There is a very important line that you must not cross with used beekeeping equipment. If you have American foulbrood (AFB) in a colony, the current UK guidance is that all brood combs, frames and affected woodenware should be destroyed under supervision of your bee inspector. You do not clean or reuse boxes and frames that have been in contact with AFB, they go straight on the fire.
European foulbrood (EFB) can sometimes be managed without burning everything, but any decision about whether equipment can be salvaged should always be taken with your local bee inspector. If you are ever unsure what you are looking at, treat it as serious and get a second opinion before you start cleaning anything.
The rest of this blog assumes that you are dealing with healthy colonies, general grime, propolis and wax, or equipment that has come from apiaries with no known history of foulbrood.
Why Good Hive Hygiene Matters
Wooden boxes and floors slowly accumulate wax flakes, propolis, old cocoon linings and the odd spot of mould. All of that organic material can harbour spores and pathogens that weaken colonies over time. Clean boxes are easier to inspect, easier to keep dry and much easier to assess for brood disease.
Good hive hygiene also helps you avoid spreading problems around your own beekeeping operation. If you run several colonies and you are moving frames and boxes between them, cleaning and scorching give you a sensible baseline level of hygiene so that one issue in one colony does not quietly travel round all of your hives.
Tools And Safety For Scorching Wooden Hives
Before you pick up a blowtorch it is worth getting your setup right. I use a gas blowtorch with a wide, soft flame rather than a fine pencil flame. The wider flame makes it much easier to get an even scorch over the inside surfaces without gouging the timber.
Always work outside in a clear, well ventilated area on a non combustible surface. I like to work on concrete or slabs with a bucket of water or an extinguisher within arm’s reach.
Wear eye protection and gloves, and never scorch inside a shed or garage. You want plenty of airflow so fumes can dissipate and you are not breathing smoke all afternoon.

Step 1: Scrape And Dry The Equipment
I always start with a really thorough scrape. Take your hive tool and remove as much wax, brace comb and propolis as you can from the inside faces, rebates and frame runners. There is no need to get the wood looking brand new, but the more physical debris you remove now, the more effective your scorching will be later.
If boxes have been stored damp, I leave them somewhere with plenty of airflow until they are fully dry. Scorching damp timber is less effective and you are more likely to create deep burn marks rather than a light, even toast to the inner surface.

Step 2: Scorching With A Blowtorch
Once the boxes are scraped and dry I move on to scorching. The aim is not to turn the inside of the hive into charcoal. You are simply trying to heat the inner layer of wood enough to kill surface pathogens such as chalkbrood spores, nosema spores and general bacteria.
Hold the torch so the flame is just licking the surface and move in smooth, continuous passes. You should see the timber change colour to a light golden brown with a slight sheen as the resins and propolis flash off. Pause on joints, rebates and frame rests where debris collects, but keep the torch moving to avoid burning right into the wood.
Work methodically around all inner faces of the brood box or super, including the inside edges of the hand holds and the top and bottom rebates. I also scorch the top face of solid floors and the underside of crown boards. Any surface that the bees walk over is a candidate for a quick scorch.
When you have finished, allow the box to cool completely before stacking it away. I like to leave kit in a dry, airy place so any remaining smells can dissipate before bees are returned to it.

Step 3: Optional Chemical Sterilisation For Stored Woodenware
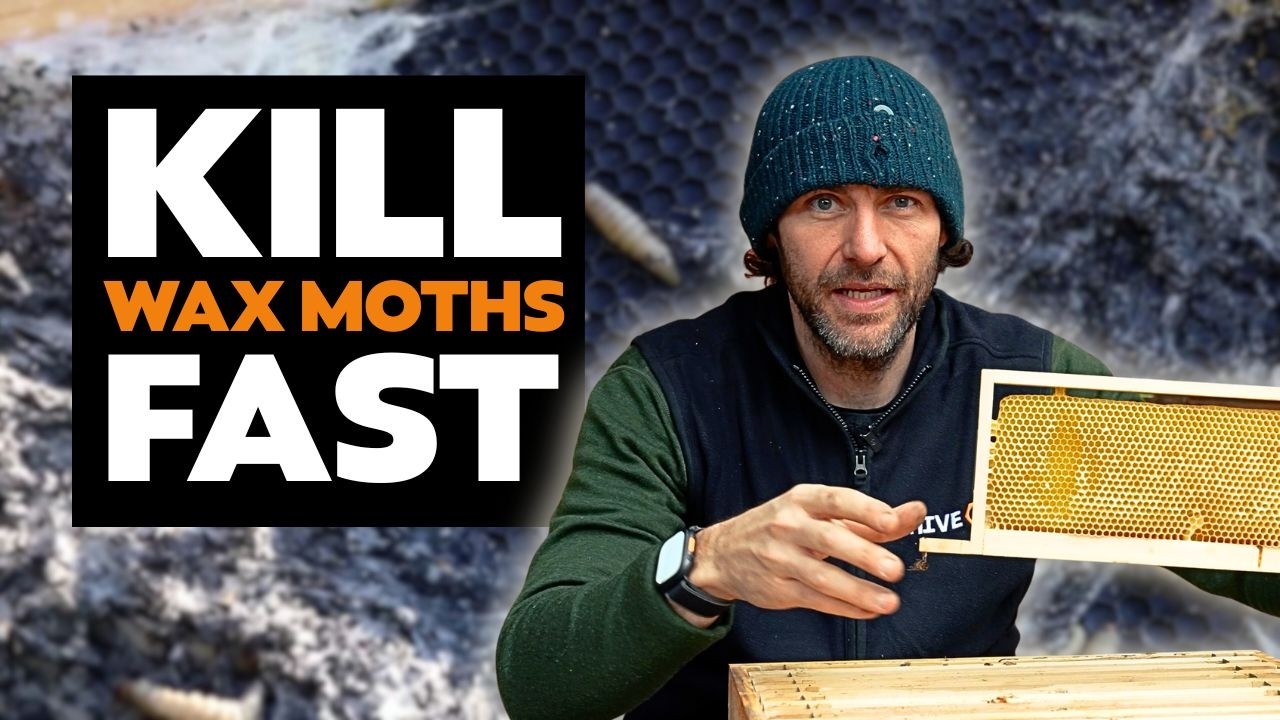
On top of scorching, some beekeepers like to use acetic acid fumigation when storing combs and boxes over winter.
Acetic acid vapour is effective against nosema and wax moth eggs on stored comb. The method involves stacking boxes with comb, placing acetic acid in a tray at the top, and sealing the stack for a week or more so the vapour can circulate and sink through the combs.
If you choose to use acetic acid you must follow a reliable protocol and safety guidance. The acid and vapour are corrosive to metal, so frame runners and metal queen excluders should be removed.
Always wear appropriate protection and only ever use food grade acids that are recommended for beekeeping. If in doubt, stick with scraping and scorching and seek advice from your association before introducing chemicals.
What About Frames And Foundation
Wooden frames can be scraped and lightly scorched in exactly the same way as boxes, but there is a balance to strike between time spent and the cost of new frames.
Personally, if I am dealing with dark old brood frames I prefer to cut out the old comb, inspect the wood, and decide whether the frame is worth reusing. Many of the very old, black brood frames simply go on the bonfire.
Super frames with reasonably clean comb and no signs of disease can be reused after a careful inspection. Anything that looks suspicious, smells wrong or has old dead brood in it is not worth the risk.

Routine Hive Hygiene Habits
A lot of disease prevention comes down to habits rather than big one off cleaning jobs. I keep a spare, clean floor in the apiary so that if a floor looks grimy or damp I can do a quick swap on the day and take the dirty one away for scraping and scorching later.
I also avoid moving old brood frames between colonies unless I have a very clear reason to do so. When I do move kit between hives I make sure it has been cleaned and scorched first.
Hive tools and gloves can quietly spread problems from colony to colony, so it is good practice to wash and disinfect them regularly rather than just carrying on until they are black. I use a freshly cleaned and sterilised set of hive tools at the beginning of every day.
Second Hand Equipment: How Cautious Should You Be?
Second hand kit can be a great way to save money, but it is also one of the most common ways that foulbrood and other issues travel around the country. If you do buy used equipment, try to buy from beekeepers you know and trust, or from association sales where the history of the equipment is understood.
When the equipment arrives, treat it as potentially contaminated until you have scraped and scorched every surface. Look and smell for any signs of brood disease while you are working. If anything feels wrong, do not be sentimental about burning suspect boxes or frames.
Losing a box is far cheaper than dealing with an outbreak across several colonies.

How This Fits Into My Wider Beekeeping System
Cleaning and scorching wooden equipment is just one part of a bigger system that I use to keep colonies healthy and productive. In my own operation I combine good hive hygiene with strong queens, planned brood renewal, proper varroa management and sensible feeding so that the bees are always in a position to thrive.

Recommended Black Mountain Honey Resources
If you want to see this process in action, my video “Scorching Wooden Beehives to Sterilise and Eradicate Disease/Pathogens” on the Black Mountain Honey YouTube channel shows you exactly how I scorch brood boxes and supers safely and efficiently -
If you are looking to clean and sterilise poly hive or plastic beehives, its best to use a mix of washing soda and sodium hypochlorite bleach:
Common Questions About Cleaning And Scorching Beehives
Do I need to scorch brand new boxes before I use them?
In most cases you do not need to scorch brand new wooden boxes straight out of the supplier’s wrapping. I still like to give the inside surfaces a quick tidy with a hive tool and check for rough splinters, but I reserve full scorching for boxes that have already been in use or second hand kit with an unknown history.
How often should I clean and scorch my wooden boxes?
There is no fixed rule, but a good starting point is to scrape and scorch brood boxes whenever you do a major comb change or cycle the box off a colony. Supers usually need less frequent attention, but if they have seen a lot of use or look particularly grimy it is worth giving them the same treatment.
Will scorching damage my equipment or shorten its life?
Light, even scorching on the inner surfaces of a box will not significantly shorten the life of the timber. You are only affecting the top skin of wood. The damage comes when the torch is held still in one spot and the wood is allowed to char deeply. If you keep the flame moving and stop as soon as the surface changes colour, your kit will last for many years.
Can I rely on bleach or household disinfectants instead of a blowtorch?
Household disinfectants are not designed for use in direct contact with bees or food. They also do not penetrate wax and propolis particularly well. For wooden beekeeping equipment I rely on physical cleaning, scorching and, where appropriate, approved methods such as acetic acid fumigation for stored comb. Bleach and general cleaners are best kept for washing bee suits rather than hive interiors or for cleaning poly or plastic beehives.
Is it worth buying second hand equipment at all?
Second hand kit can be a bargain, especially if you are expanding and need extra brood boxes and supers quickly. The key is to be very selective about what you buy and where it comes from. If you are not confident assessing equipment for signs of disease, it is often safer to start with new kit and then gradually add carefully selected used boxes once you have more experience.
14 Day Beekeeper – Learn The Full System
Cleaning and scorching hives is much easier when you understand where it sits in a complete management plan. In 14 Day Beekeeper I share the exact system I use in my own business to keep colonies strong, reduce winter losses and produce consistent crops of honey. If you would like clear, step by step guidance rather than trying to piece everything together from random videos, you can find all the details and join the course here -