How to prepare for your first colony of bees?
- Laurence Edwards

- Feb 22, 2024
- 6 min read

How to prepare for your first colony of bees?
So you’ve decided to take the plunge and get your first colony of bees. Whether or not you have bought your nucleus from Black Mountain Honey or not, this blog post will give you all the details of how to prepare for your first nucleus of bees and what to do when it arrives.

What is a nucleus colony?
A nucleus colony contains everything you would find within a full beehive, just on a smaller scale. Nucs are generally provided on 6 frames. You should get 3-4 frames of BIAS (brood in all stages), which just means egg, larvae and pupae of varying ages. A couple of frames of stores. A mated, marked queen bee and enough bees to sustain the population. In the region of 5000 bees. A nucleus colony will grow into a full size colony of bees in a matter of weeks.

If you are interested in buying your first nucleus of bees, we have nucs for sale available at Black Mountain Honey – check then out HERE
What does the nuc arrive in?
The nuc will arrive in either a wooden, polystyrene or correx container. It’s a small beehive that is perfect for overwintering nucleus colonies and so long as you request a wooden or poly nuc, it’s a very valuable tool within the apiary. Try and avoid ordering nucs that arrive in correx. It’s not the best for the bees through the postal system and they are only worth around £10 vs around £70 for the poly nucs.

How is the nuc delivered?
You can opt to collect or have your nuc delivered and in our experience, they surprisingly tend to do better in the post. This is because they are picked up much later in the evening, when it’s cooler as opposed to spending the warmest part of the day in the back of a car.
Our nucs are supplied in a Paynes Poly Nuc and instead of a solid roof, they are fitted with a ventilated screen to ensure the bees do not overheat in the post. We have sent thousands of nucs in the post and never ever had a single nuc die using the vented screens from Payne.
The nucs are picked up from Black Mountain Honey at 6pm in the evening on a dedicated Royal Mail collection and go straight to the Chester hub for sorting. They are then delivered to customers the very next day by your regular (often terrified) postman/women. They generally arrive before 1pm and require a signature on delivery. We send our nucs on Tuesday for delivery on Wednesdays.

What do I do when the nuc arrives?
The very first thing to do when the nuc arrives is to take it straight out to the garden and place it in its final resting position. This needs to be exact location where you plan to permanently place your beehive, with the entrance facing in the exact same direction.
Once you have placed the nuc down, take a piece of plywood or solid plastic (anything over A4 paper in size) and place it over the ventilation holes on the top of the nuc. You can weigh it down with a nuc.
Get your bee suit on, light your smoker, get your gloves on and then after the nucs has settled for 10 mins, remove the screws from the entrance disc (you need a standard screwdriver) and open to the fully open section. The bees will come streaming out and it will be manic for 20-30 mins. This is normal and what the bees are doing is starting to orientate to their new home, so they can find it when they return from foraging. Do this regardless of weather. It can be raining, sunshine or blizzards – you have to open that entrance and close the mesh immediately
If its cold (below 12c) the bees probably won’t even come out but they need that entrance open so they don’t become stressed due to confinement.
Once the disc is open, you can leave the colony there for up to 2 weeks waiting for a suitable day to transfer to their full time home. You are waiting for a nice, still dry, sunny day of at least 13-14c. The warmer the better. You can move them over in as little as 24 hrs as long as the weather is set fair.

What do I need to do to prepare for the nucs arrival?
Whilst you wait for suitable weather to transfer your nuc to your beehive, it’s worthwhile running through the checklist below to ensure you have every ready for when the weather is suitable.
PPE
You will need as a minimum a bee suit and a pair of gloves. We recommend the bee suits from BBWear and disposable nitrile gloves.
bbwear.co.uk - Use code BMH2024 for 12.5% most bee suits and veils

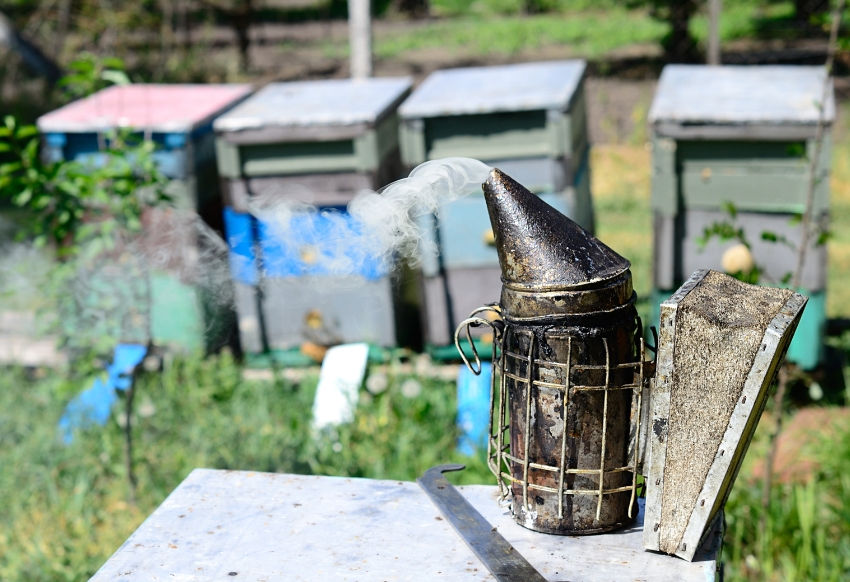
Equipment
You will need a bee smoker and a hive tool. We recommend the Large Stainless Empire smoker from Thornes - https://www.thorne.co.uk/hardware-clothing/smokers-fuel/smokers/empire-stainless-steel-large-smoker-with-optional-guard.html

Temporary Roof
A piece of plywood, plastic or any waterproof sheet material to cover up the ventilation screen whilst you wait to transfer your bees.

Hive Stand
You will need somewhere to place your beehive to keep it up off the floor to avoid water ingress into the ventilated screen. Literally anything will do but you need to cover up the vent as soon as they are placed into the garden. Here is a video of our favourite hive stand:
Beehive
You will of course need a beehive to provide a permanent home for your bees. We can highly recommend all of the poly hives from Abelo. Make sure you order the same type hive to match your nucleus colony. Choose from either a national hive or a Langstroth hive.
Frames
You need to make up at least 4-6 brood frames prior to transferring the nuc to the beehive, but it makes sense to just make up all of the frames at one and store them in the beehive until you need them. Again, ensure you are buying the correct frames and foundation for your beehive/nuc. If in any doubt, ask the suppliers (or me).

Transfer to Beehive
Finally the time has come to transfer your nuc to your beehive. You can watch the full process in the video below or follow these bullet points:
1. Wait until its 14c and rising and start the transfer around midday
2. Get your bees suit and light your smoker in case you need it.
3. Pick up the nuc and place it off to one side
4. Place your new beehive in the same location the nuc was located and ensure the entrances are facing the same way
5. Remove the temporary roof from the nuc and then remove the screws that are holding on the vented screen from the nuc
6. Remove the vented screen. Some bees will fly up.
7. Take your hive tool and loosen the first frame. Gently prise the first frame up and slowly remove from the nuc.
8. Look and see if you can see the queen but don’t worry if you cant. Place the frame taken from the nuc into the newly positioned beehive on the side wall
9. Go back to the nuc and do the same with the next frame. Each time have a look for 10-15 seconds to see if you can see the marked queen but don’t worry if you cannot see here.
10. If you do find the queen on a frame, proceed to place the frame into the beehive as normal but just be ultra-careful not to drop her anywhere. Once she is in the beehive, everything is safe
11. Continue with the remainder of the frames until all 6 are now in place in the beehive in the exact same order they were in the nuc
12. Take the nuc and turn upside down over the beehive. Give one big thump to bang out all of the bees from the nuc. Check inside and ensure not a single bee remains in the nuc. This is to ensure if you cannot find the queen, she makes her way into the new beehive.
13. Ensure all of the DN4 or self-spacing frames are touching each other. There should be no gaps.
14. Add more frames to the beehive to the beehive (with foundation) so that the brood box is full (it will be 10, 11 or 12 frame depending on the design).
15. Place the crown-board onto the brood box and position and feeder directly over the centre hole (block any other holes in the crown board)
16. Fill the feeder with circa 1 litre of 1:1 sugar syrup – see video here
17. Place empty super on crown board to allow roof to be placed over the top of the feeder
18. Leave for one week before commencing weekly inspections. Wondering how to do inspections or what you are looking for – check out this video
Conclusion
So there you. You are all set and are now officially a beekeeper! If you have any questions, get in touch or if you feel I have missed anything, let me know in the comments and I will add it into the blog.


thetinyfishing does an amazing job of giving visual feedback with satisfying pop-up numbers for earned cash.
Thanks for doing this is is really helpful. I'm just a few weeks away from getting my overwintered nuc and this info has been so helpful and has eased my nervousness of making sure I'm going to be doing the right thing, although I will be asking the beekeeper for his input into the process too.
If I could just query one thing though....In the last section on 'Transfer to Beehive' you reference a video to watch but there is no video. The only video below is the one on inspection. Thanks again for the clear and easy process it'll be very handy when the time comes.
Jamie