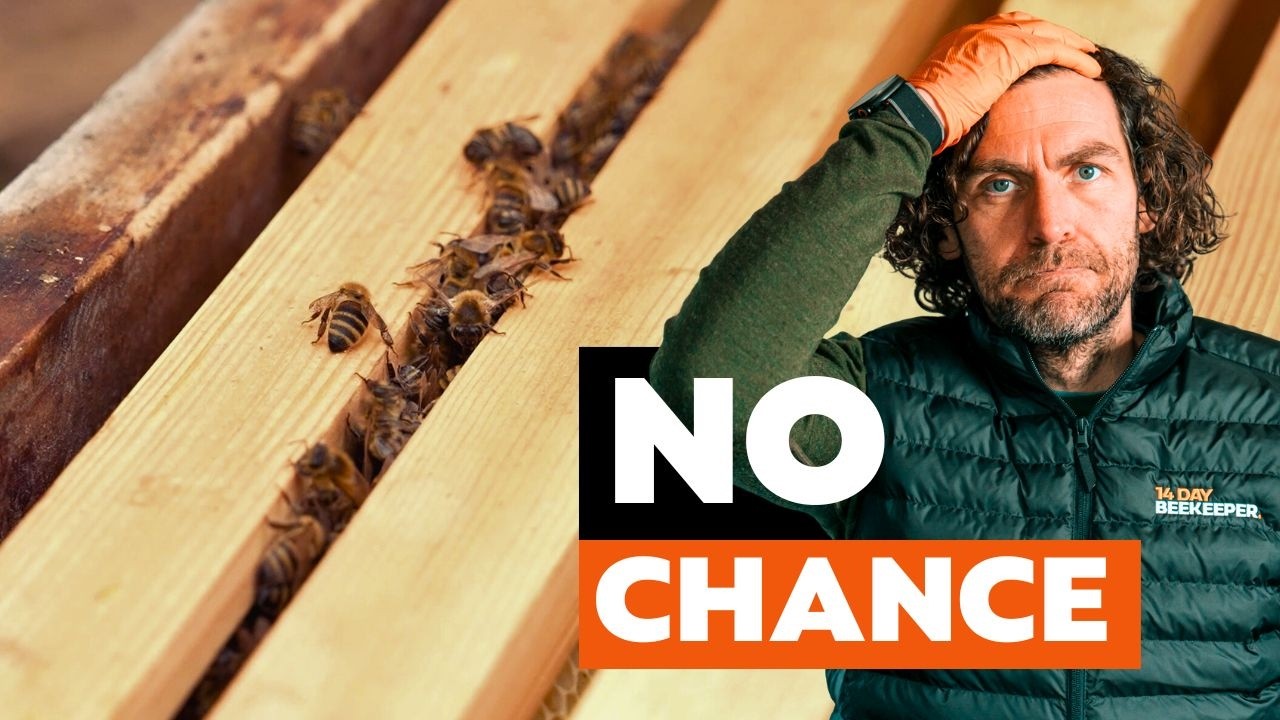
Adam's Apiaries: Receiving My First Black Mountain Honey Nuc of Bees
- Adam Goodall

- Jun 12, 2024
- 5 min read
Updated: Jun 28, 2024
Bee Nucs from Black Mountain Honey

In this blog I will be sharing my experience of receiving my first Black Mountain Honey bee nuc. Like many people, I received an overwintered bee nuc from BMH this year and I wanted to spend a little time talking through the experience.
Some of you may be very new to beekeeping so I thought it would be good to share my experience with you. As many of you will know, BMH has a very informative YouTube video series on receiving your first colony, the link for this is at the bottom off this blog. There is also a useful guide on the BMH website:
Being only a novice beekeeper, I thought that sharing my experience of receiving and taking my nuc through the first season may be of some use to you. After all, watching Laurence on a video doing it and doing it yourself for the first time can be a little different! I bought my Black Mountain Honey overwintered Nuc from the page below:
Bee Nuc Delivery
Before the bee nuc arrives you are given plenty of notice to when you nuc of bees will be ready and sent out. The date of arrival has a degree of flexibility to it, so if your off on holiday don't worry the nuc of bees will not be sent out. Remember though, the nucs have to be signed for so you will need the day off or someone will need to be home. Its worth staying home just to see your postman's face!!
Your bees will arrive in a Payne's poly nuc, this is a perfectly acceptable home for the colony for a week or two, but not much longer than that. One thing that you will need on the day of arrival is a piece of wood or solid plastic to cover up the ventilated roof of the nuc.
When your nuc of bees arrive all that you need to do is to place them onto the hive stand, with the entrance facing the same direction as you will want the final hive and place the piece of wood over the ventilated roof.

Preparation
At this point just go and pop the kettle on... There are two reasons for this, one it gives the bees a little time to settle down from being jiggled about and two you can just double check that it is the correct spot for where you want the bees. Once you open them up, moving the hive can be a real pain! It can be done but it is a slow process.
Best bet, get them in the correct place first. Before you put your suit on go and find a Philips(cross head) screw driver and pop it on the top of the nuc of bees ready. Now finish your tea and pop your suit on.
With your suit and gloves on remove the couple of screws that have been put through the entrance disk on the bee nuc, then just slip the disk around to fully open and let the bees out. Just note the bees may be a little crabby, the nuc I received were, but not aggressive in any way and they soon settle down.
Bee Nuc Transfer
With some time gone by and the nuc of bees all settled in you will soon need to move the bees from the bee nuc into their full size hive. For this you will need the the rest of the frames that are required to fill a full size brood box.
The additional frames do not need to be drawn, fresh frames of foundation are fine. The lid of the bee nuc is screwed down for transport, note that they are star drive screws so on the day that the nuc arrives take a little look, so you can find what your looking for. Its a fairly standard head that comes in most DIY sets, so this shouldn't be too much of an issue.

Before you start make sure you have all the equipment that you require including the new hive and a feeder and some feed. You should have all your PPE on and the smoker should be lit. Just take a minute to make sure all you need is to hand. Then you can remove the screws from the roof of the bee nuc.

Gently move the nuc of bees to the side and place the new hive in its place. You will find that any bees that are flying will start to fly back into the new hive as they are orientated to a spot not to a box. With your smoker just give a small puff into the entrance of the nuc, only a small one there is no need to go mad!!
They really are as calm as they are made out to be. Gently pop the lid off the bee nuc and make sure you have a good look at the roof before you set it to one side you don't want to put your queen in the grass!

Transfer Bee Nuc Frames In Order
With the frames being new in the bee nuc there was very little propolis to stick everything down so I didn't use a hive tool. I just gently lifted the frames out one at a time. If there is a bee in your way you can just gently brush them out of the way, or give a very gentle puff with the smoker.
Take your time and have a look at each frame as you transfer the frames across from the bee nuc to the beehive, keeping the frames in the order that you have removed them. The main thing you need to see as you move them across is the queen. She will be marked, hopefully you will find her in the middle of a frame, but sometimes they love to hide from you. Along with the queen you should be able to see brood in all stages and some stores.
Final Checks
Having moved all the frames across from the nuc of bees and as long as you have seen the queen and are happy that she is now in her new home, you will still have a few bees in the bee nuc. All that you need to do is to turn the bee nuc box upside down and give it one good knock onto the hive, this should dislodge the last of the bees. Make sure that you then move the old bee nuc box away from the area.

Feeding
Once you have moved all the frames over in order, add the correct number of frames to the hive to fill it up. This will differ depending on the type of hive that you have. This leaves one important job to do, feed them. Although the nuc will arrive with plenty of stores they will soon use them up! Especially this year. A pint or two of 1:1 syrup will make a huge difference.
Not only are you giving the bees food, it will stimulate the colony and the queen. This can make them believe that there is a flow on and that they need to maximize on this. The queen will therefore up her laying and the colony will draw more comb to give her the room.
It really is as simple as that. Now all you need to do is to sit back and watch your bees grow from strength to strength. Through all of BMH's video's you will hear the repeated talk about just how calm that their bees are. Well I can say that they are!
For those who aren't quite ready for a nuc of bee but are interested in learning more about beekeeping, Laurence has created a useful starter video called 'How To Start Beekeeping' which is well worth a watch:


A nuc (short for nucleus colony) Geometry Dash is essentially a starter hive: a small but established colony that includes a queen, worker bees, brood, and food stores
Great blog. I am about a month in with my first nuc, also in an anel hive. One thing I have noticed is there is zero bearding, so I assume they are keeping the temperature perfect for them with no problem.
What's the plastic hive?